How to export document data to Excel for further analysis?
- In main screen, click [Report] icon on the left.
- Click the [New Report] icon at the top right corner and choose “Raw Data Export“.
- The Raw Data Export window will be displayed.
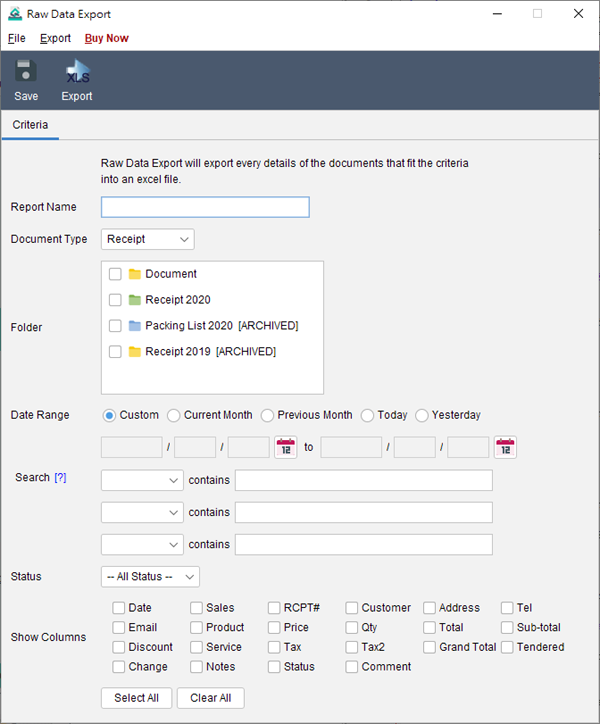
- You need to provide a name for this report.
- Specify the document type you like to export.
- Choose the folders to be included in the report.
- You can limit the search criteria by specify the date range.
- Check the box to show the corresponding column.
- Click [Save] button to save the report.
- To export your report, click [Export] button at the top.“.
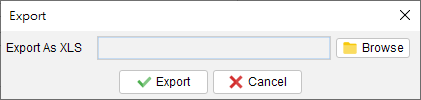
In the popup dialog, click the [Browse] button to specify the output filename and click [Export] button. The report will be exported to the specified file.Note: If any line item column is selected, the document will be spanned as multiple rows according to the number of line items.

